
- Key Takeaways
- What Is a Rough Opening, and Why Does It Matter?
- Why You Should Plan the Rough Opening First
- Common Door Rough Opening Sizes
- How to Measure a Rough Opening
- Step 1: Expose the framing
- Step 2: Measure the width
- Step 3: Measure the height
- Step 4: Measure the wall depth
- Step 5: Check for plumb, level, and square
- How to Frame the Rough Opening Correctly
- Lay out the framing first
- Straighten the opening before the door arrives
- Keep the planned clearance
- Prepare exterior openings for water
- Prepare interior openings for support
- Code Checkpoints for North Texas Door Installations
- How to Shim, Set, and Troubleshoot the Door
- A Quick Closeout Checklist
- Frequently Asked Questions
- How much bigger should the rough opening be than the door?
- What is the rough opening for a standard 36×80 front entry door?
- Do I need a sill pan for an exterior door in North Texas?
- How do I choose between a 4-9/16-inch and 6-9/16-inch jamb?
- What kind of door is required between the garage and the house?
I once watched a DFW handyman tear out fresh drywall because the rough opening was a half inch too narrow for the prehung door sitting on the porch.
The door was fine. The opening wasn’t. He framed first and shopped second.
That small mistake cost him an afternoon, a sheet of drywall, and a callback he couldn’t bill for.
In North Texas, where slab-on-grade foundations, brick veneer, and both 2×4 and 2×6 walls are common, door planning needs to start before the framing is finished. When the rough opening is right, the door is easier to shim, latch, flash, and pass through inspection.
When it’s wrong, you end up patching drywall, reordering materials, or explaining a delay to the homeowner.
The safest rule is simple: plan the opening around the door unit, not the other way around. That gives the door the best chance of hanging, swinging, and latching correctly the first time.
Key Takeaways
Keep these basics in mind so you can frame once, order once, and avoid the mistakes that slow down the job.
- Plan the rough opening before you buy: Match the framed opening to the manufacturer’s unit specs and the code requirements used by your local jurisdiction.
- Egress matters: Every home needs at least one side-hinged egress door with a minimum 32-inch clear width and 78-inch clear height.
- Exterior prehung doors need clearance: Most major brands call for a rough opening that is about an inch wider and about three-quarters of an inch taller than the assembled door unit.
- Interior prehung doors need less room: Interior units usually need about half an inch of extra width and height, assuming the opening is square, level, and plumb.
- Jamb depth has to match the wall: Common jamb depths are 4-9/16 inches for a 2×4 wall and 6-9/16 inches for a 2×6 wall, assuming half-inch drywall on both sides.
- Sidelites change the math: A sidelite is the fixed glass panel beside the door, and it can add a lot of width to the required rough opening.
- Flash exterior openings correctly: In the Dallas-Fort Worth area, a sill pan and self-adhered flashing tied into the wall wrap are essential for keeping wind-driven rain out of the wall assembly.
What Is a Rough Opening, and Why Does It Matter?
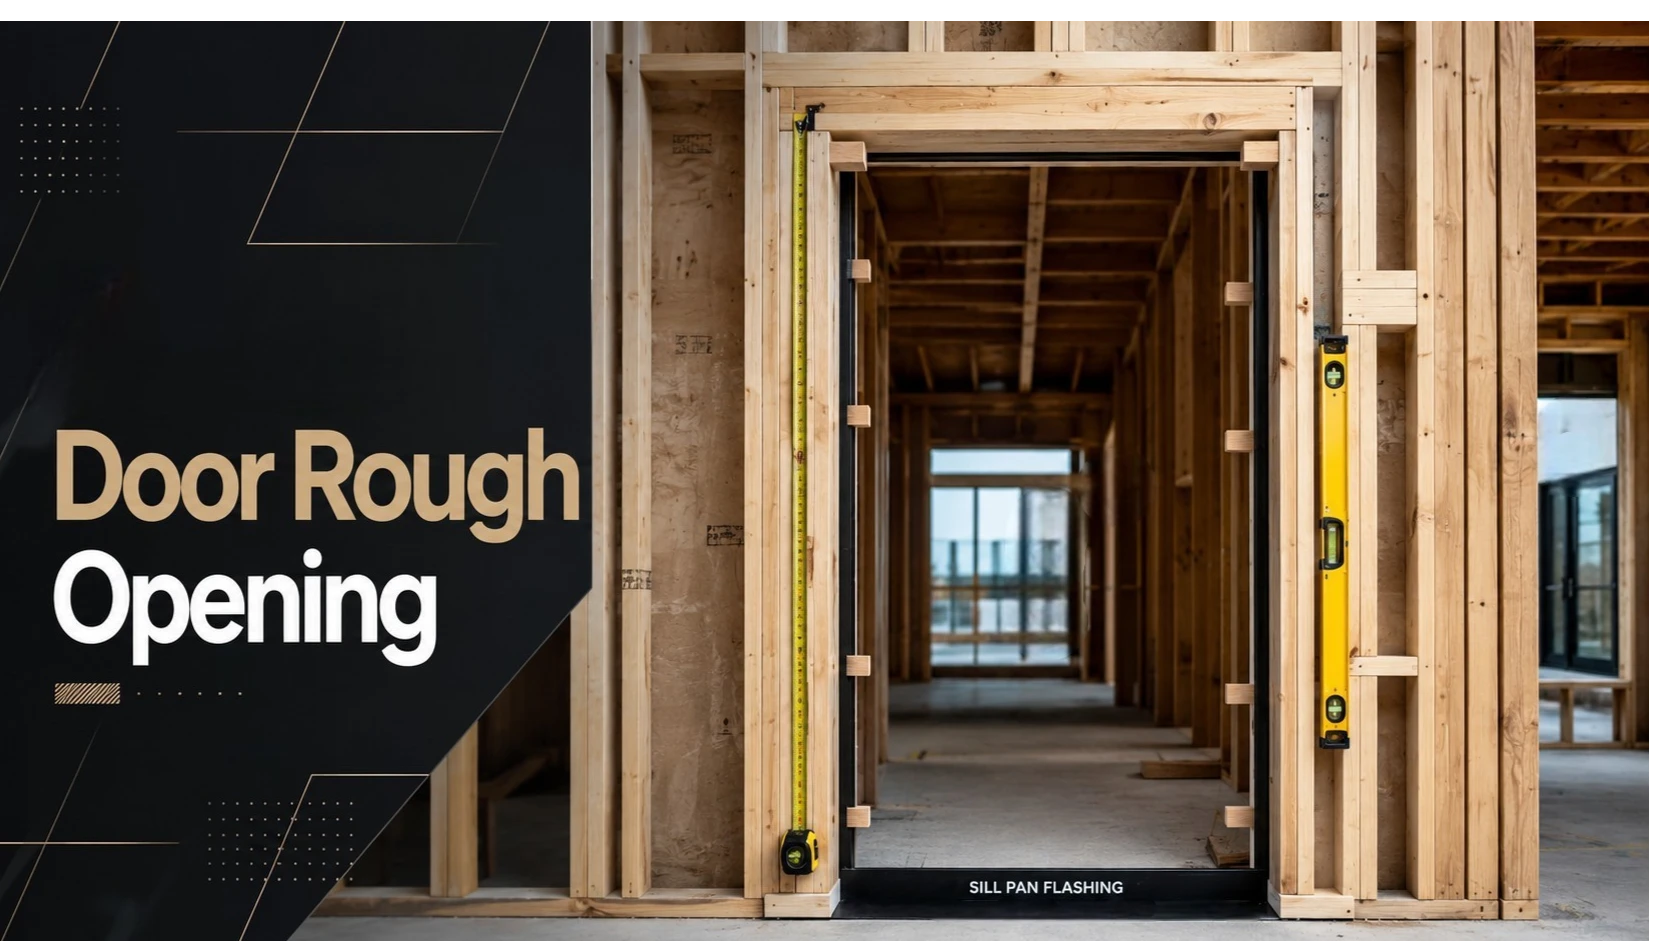
A rough opening is the framed space that holds the door unit, the shims, and the small adjustments needed during installation.
It is measured from stud to stud and from the subfloor to the bottom of the header. The opening needs to be larger than the assembled door unit so there is enough room to plumb, level, and square the jamb before fastening it in place.
It helps to know the framing terms. King studs run the full height of the wall. Jack studs support the header. Cripple studs fill the space above the header. The header carries the load over the doorway. When you buy a prehung door, the slab is already mounted inside the jamb.
Do not confuse clear width with rough opening width. Clear width is the usable walk-through space when the door is open 90 degrees. Rough opening width is the stud-to-stud measurement. The outside width of the door unit falls between those two numbers.
Most prehung doors need about half an inch of shim space on each side. Head clearance depends on the brand, threshold, and jamb design. Major manufacturers generally recommend keeping the extra width close to an inch total, so always check the installation sheet before framing or setting the door.
Why You Should Plan the Rough Opening First
Planning the rough opening early saves labor, reduces waste, and helps prevent service calls later.
Faster Installation
A square, level, and plumb opening lets you focus on setting the door instead of shaving studs, fighting bowed framing, or packing huge shim stacks into oversized gaps. On a remodel with multiple doors, that can save hours.
Fewer Material Returns
Accurate rough opening measurements help you avoid wrong-size units and jamb-depth mistakes. In the real estate market, one house may include both 2×4 and 2×6 walls, so verifying jamb depth before ordering matters.
Fewer Callbacks
North Texas clay soil can shift enough to expose weak door installation. Proper shim space, straight framing, and long hinge screws driven into the wall framing help keep the reveal even and the latch working smoothly.
Common Door Rough Opening Sizes
Standard planning sizes are useful early in the project, but the manufacturer’s spec sheet should always control the final rough opening.
- Interior single prehung doors: A common planning rule is to add about two inches to the slab width and two inches to the slab height. For example, a 30×80 slab often needs a rough opening around 32×82. Exact tolerances vary by brand.
- Exterior single prehung doors with a threshold: A standard 36×80 front entry unit often needs a rough opening around 38 inches wide and 82 to 82-1/2 inches tall. The final number depends on the threshold, trim, and jamb profile.
- Entry doors with sidelites: Add the manufacturer’s sidelite width to the rough opening. Some framing tables allow about 1-1/2 inches for one sidelite and 3 inches for two, but the exact unit build should always be confirmed before cutting lumber.
- Eight-foot doors: Check the full assembled unit height, not just the slab size. You may need to frame a higher header or adjust the floor transition to keep the exterior landing code-compliant.
- Bifold, bypass, pocket, and barn doors: These systems use their own track kits and framing rules. Do not use standard swing-door rough opening dimensions for sliding or folding doors.
How to Measure a Rough Opening
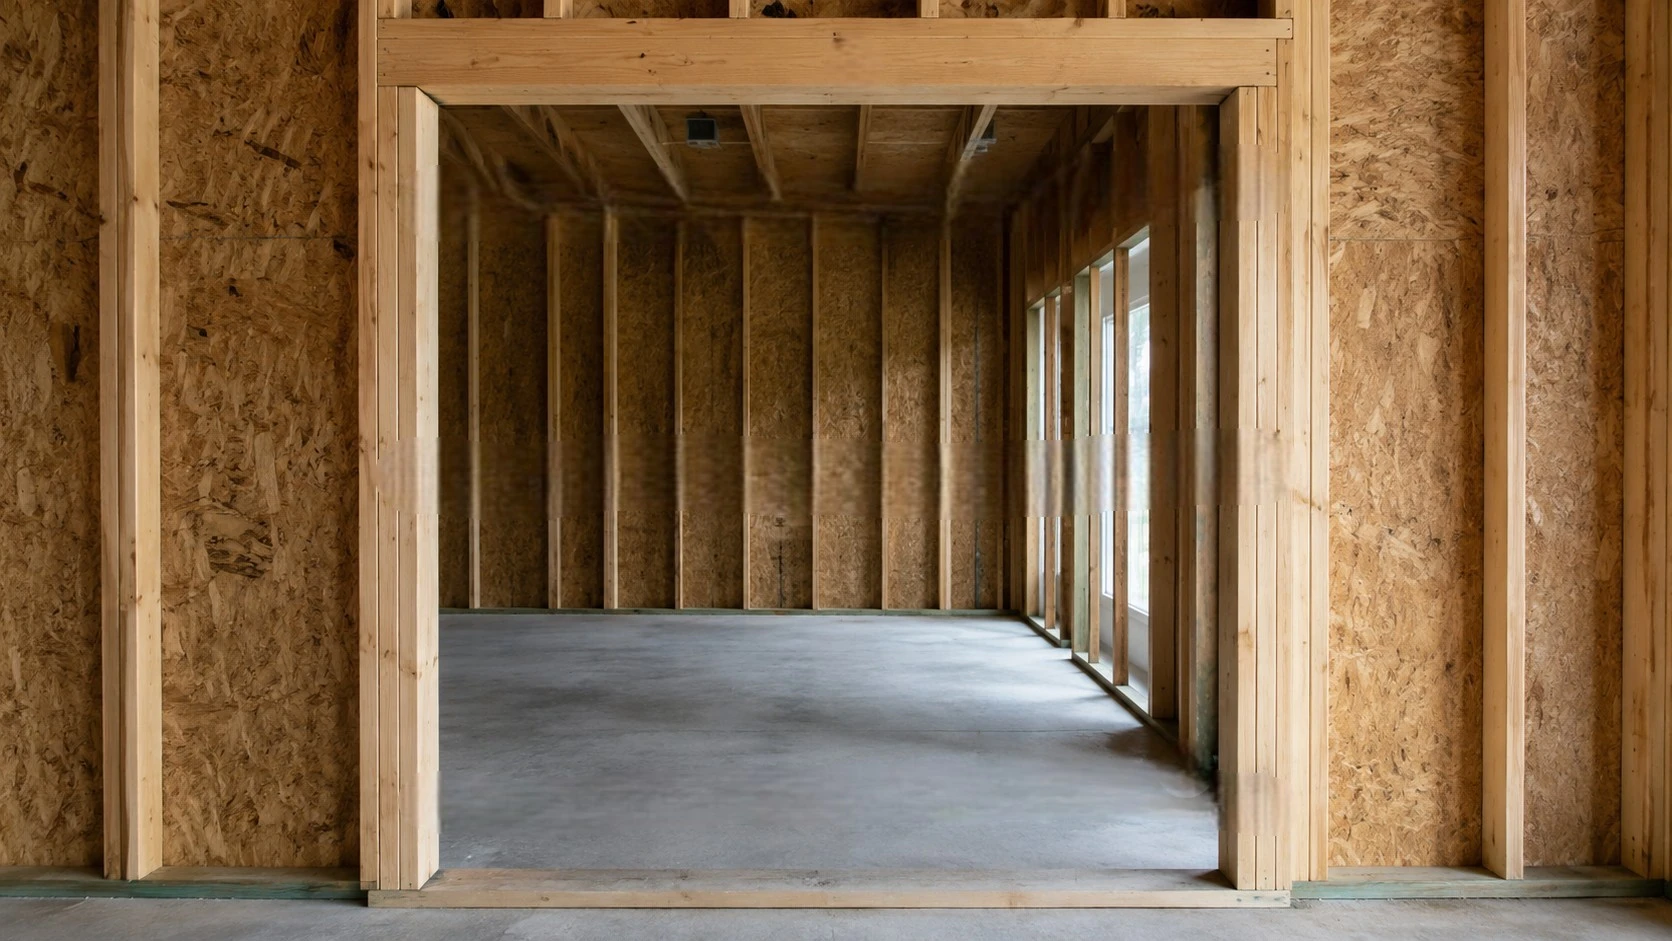
Measure the width, height, and wall depth in multiple places. When ordering a door, use the smallest measurement.
Major brands such as JELD-WEN recommend taking three horizontal measurements and using the smallest one. That helps ensure the replacement unit fits even if the framing is not perfectly straight.
Step 1: Expose the framing
Remove the interior casing so you can see the true stud-to-stud opening. For exterior doors, confirm whether you are measuring from the bare subfloor or from the finished sill reference point.
Step 2: Measure the width
Measure between the trimmer studs at the top, middle, and bottom of the opening. Write down the smallest number, not the average.
Step 3: Measure the height
Measure from the subfloor or finished floor to the bottom of the header on the left, center, and right sides. If hardwood, tile, or another finished floor will be installed later, account for that buildup now so the door does not drag.
Step 4: Measure the wall depth
On interior walls, measure from the face of the drywall on one side to the face of the drywall on the other. On exterior walls, measure the full wall thickness. This tells you whether you need a 4-9/16-inch jamb, a 6-9/16-inch jamb, or custom jamb extensions.
Step 5: Check for plumb, level, and square
Put a level on both trimmer studs, check the header, and compare the diagonal measurements. If a stud is bowed, twisted, or out of plumb, fix the framing before ordering or setting the door.
If your measurements are inconsistent or the header looks off, use a visual guide before sending the numbers to your supplier. Doors for Pros has a useful walkthrough on measuring a door rough opening. It is a good field check before you order.
For most prehung doors, keep about half an inch of shim room on each side. If the existing opening gives you less than that, reframe it before installation.
How to Frame the Rough Opening Correctly
Straight studs, proper clearance, and good flashing matter just as much as the final dimensions.
Lay out the framing first
Set the full-height king studs, then install the jack studs that support the header. Size the header according to IRC span tables or an engineered detail when the opening is wide or carrying a heavy load. Fill the space above the header with cripple studs up to the top plate.
Straighten the opening before the door arrives
Plane, shim, or replace bowed studs before setting the unit. The hinge-side trimmer should be plumb because even a small crown can create an uneven reveal from top to bottom.
Keep the planned clearance
Do not tighten the rough opening just because it looks cleaner during framing. That extra space is what lets you make small adjustments during installation.
Prepare exterior openings for water
Install a sill pan and tie the self-adhered flashing into the house wrap so water drains out instead of into the wall. In Climate Zone 3A, which includes warm and humid areas like Dallas County, this is basic protection against heat, humidity, and wind-driven rain.
Prepare interior openings for support
Dry-fit the unit, pre-shim the hinge side if needed, and use long screws through the top hinge. Those screws need to bite into the wall framing, not just the soft jamb.
Code Checkpoints for North Texas Door Installations
Inspectors commonly focus on clear width, exterior landing heights, garage fire separation, and water management.
Dallas and Fort Worth currently use the 2021 International Residential Code with local amendments. but DFW jurisdictions vary. Some cities, like Frisco, have already moved to the 2024 codes, so verify the adopted code with the local authority before framing or ordering.
- Primary egress door: Every house needs at least one side-hinged egress door with a minimum 32-inch clear width and 78-inch clear height. The clear width is measured from the face of the open door to the door stop with the slab open 90 degrees.
- Exterior landing heights: At the required egress door, the interior floor landing cannot be more than 1-1/2 inches below the top of the threshold. Other exterior doors may allow a larger step-down in certain situations, but local amendments can change the rule.
- Garage-to-dwelling fire separation: The door between the garage and the dwelling must be self-closing and self-latching, and must be a solid wood door, a solid or honeycomb-core steel door at least 1-3/8 inches thick, or a 20-minute fire-rated door. Inspectors may check the self-closing action on site, so do not rely on the fire label alone.
- Climate note: Dallas County is in IECC Climate Zone 2A under the 2021 IECC. Some surrounding North Texas counties remain in Climate Zone 3A, so always confirm the project’s county and local jurisdiction before applying energy-code assumptions.
How to Shim, Set, and Troubleshoot the Door
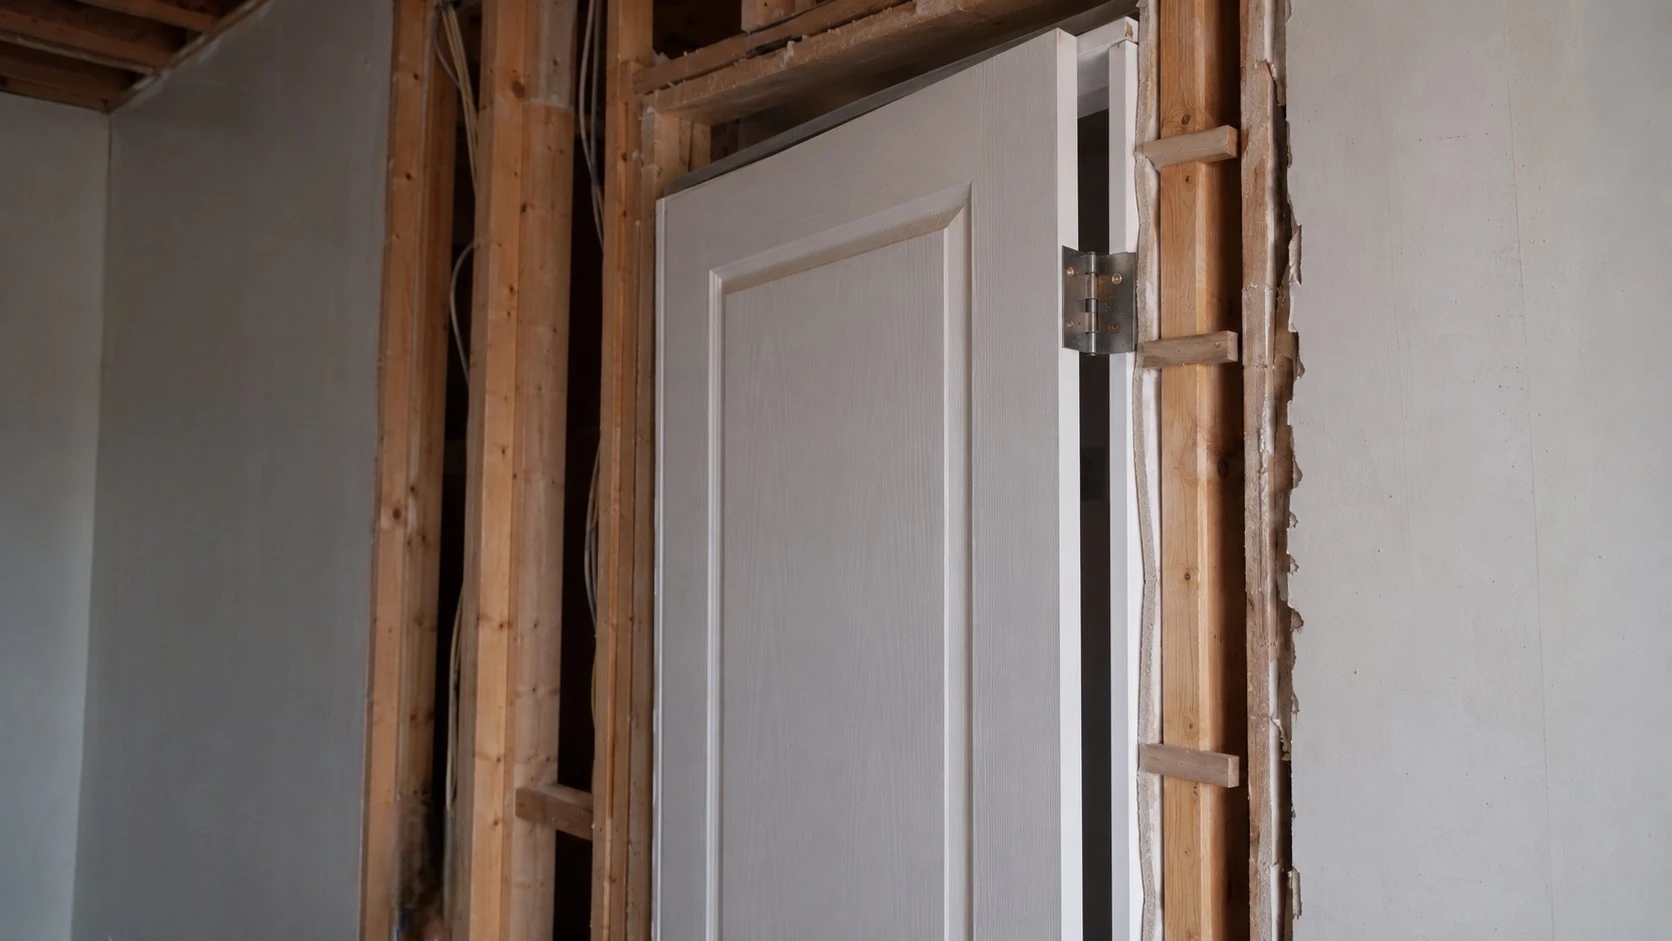
Set the hinge side first, lock that vertical plane in place, and then adjust the rest of the unit around it.
Set the sill on the pan, tilt the unit into the opening, and fasten the hinge side through the shims. Drive long screws through the top hinge and into the framing. Once the hinge side is secure, adjust the latch side and head jamb until the reveal is even around the slab.
Before installing casing, check the swing, latch engagement, and weatherstrip compression. A small bind is much easier to fix before the trim goes on.
- If the rough opening is too small, reframe it. Forcing a prehung door into a tight opening removes the adjustment space and usually causes a bad reveal or sticky latch.
- If the rough opening is too large, add solid filler framing. Do this wherever the shim stacks would be too thick. Also confirm that the casing will still cover the drywall gap.
- If the jamb depth does not match the wall, fix the jamb. Use custom jamb extensions or reorder the door with the correct jamb depth. A 4-9/16-inch jamb in a 2×6 wall will leave a gap that standard casing will not hide.
- If the studs are out of plumb, correct the framing first. Trying to solve bad framing with oversized shim stacks usually creates another door problem.
A Quick Closeout Checklist
A quick closeout check can catch most fit and code issues before trim, inspection, or handoff.
Before calling for inspection or turning the project over to the homeowner, confirm the following:
- The rough opening matches the manufacturer’s size tolerances.
- The opening is square, level, plumb, and properly flashed for exterior exposure.
- The hinge side is locked in place with long screws driven into structural framing.
- The door reveal is even, the latch works smoothly, and the sweep and threshold are adjusted.
- Egress sizes, exterior landing heights, and garage fire-separation rules have been checked where they apply.
- The door model, jamb depth, and final rough opening dimensions are recorded in the project notes.
Quality door work starts before the delivery truck arrives. The cleanest installations come from accurate measurements, straight framing, proper shim space, and flashing that can handle the local climate.
Frequently Asked Questions
How much bigger should the rough opening be than the door?
It depends on whether you are measuring the slab or the assembled prehung unit. Most exterior prehung doors need a rough opening about an inch wider and about three-quarters of an inch taller than the unit’s outside dimensions. Most interior units need about half an inch of extra width and height. The manufacturer’s installation sheet is the final authority.
What is the rough opening for a standard 36×80 front entry door?
A common framing range is about 38 inches wide by 82 to 82-1/2 inches tall for a standard 36×80 exterior prehung unit. The exact size depends on the threshold, jamb, and trim profile, so confirm the manufacturer’s specs before cutting.
Do I need a sill pan for an exterior door in North Texas?
Yes. A sill pan and proper flashing are inexpensive protection against water intrusion. In the Dallas-Fort Worth area, wind-driven rain can push moisture into small gaps, so the pan should drain outward and tie into the rest of the flashing system.
How do I choose between a 4-9/16-inch and 6-9/16-inch jamb?
Measure the actual wall thickness on site. A typical 2×4 wall with half-inch drywall on both sides uses a 4-9/16-inch jamb. A 2×6 wall with the same drywall setup uses a 6-9/16-inch jamb. For non-standard wall thicknesses, order custom jamb extensions.
What kind of door is required between the garage and the house?
Under IRC R302.5.1, the opening between the garage and the dwelling requires a self-closing solid wood door, a solid or honeycomb-core steel door at least 1-3/8 inches thick, or a 20-minute fire-rated assembly. In practice, inspectors may verify both the door material and the self-closing hardware during the final inspection.