Some spaces just aren’t made for real grass. Maybe there’s too much shade, too many paws running around, or not enough time to deal with sprinklers and weeds. That’s where artificial grass quietly steps in and does its thing. It’s green all year, doesn’t care about dry spells, and somehow always looks like you just had it professionally edged.
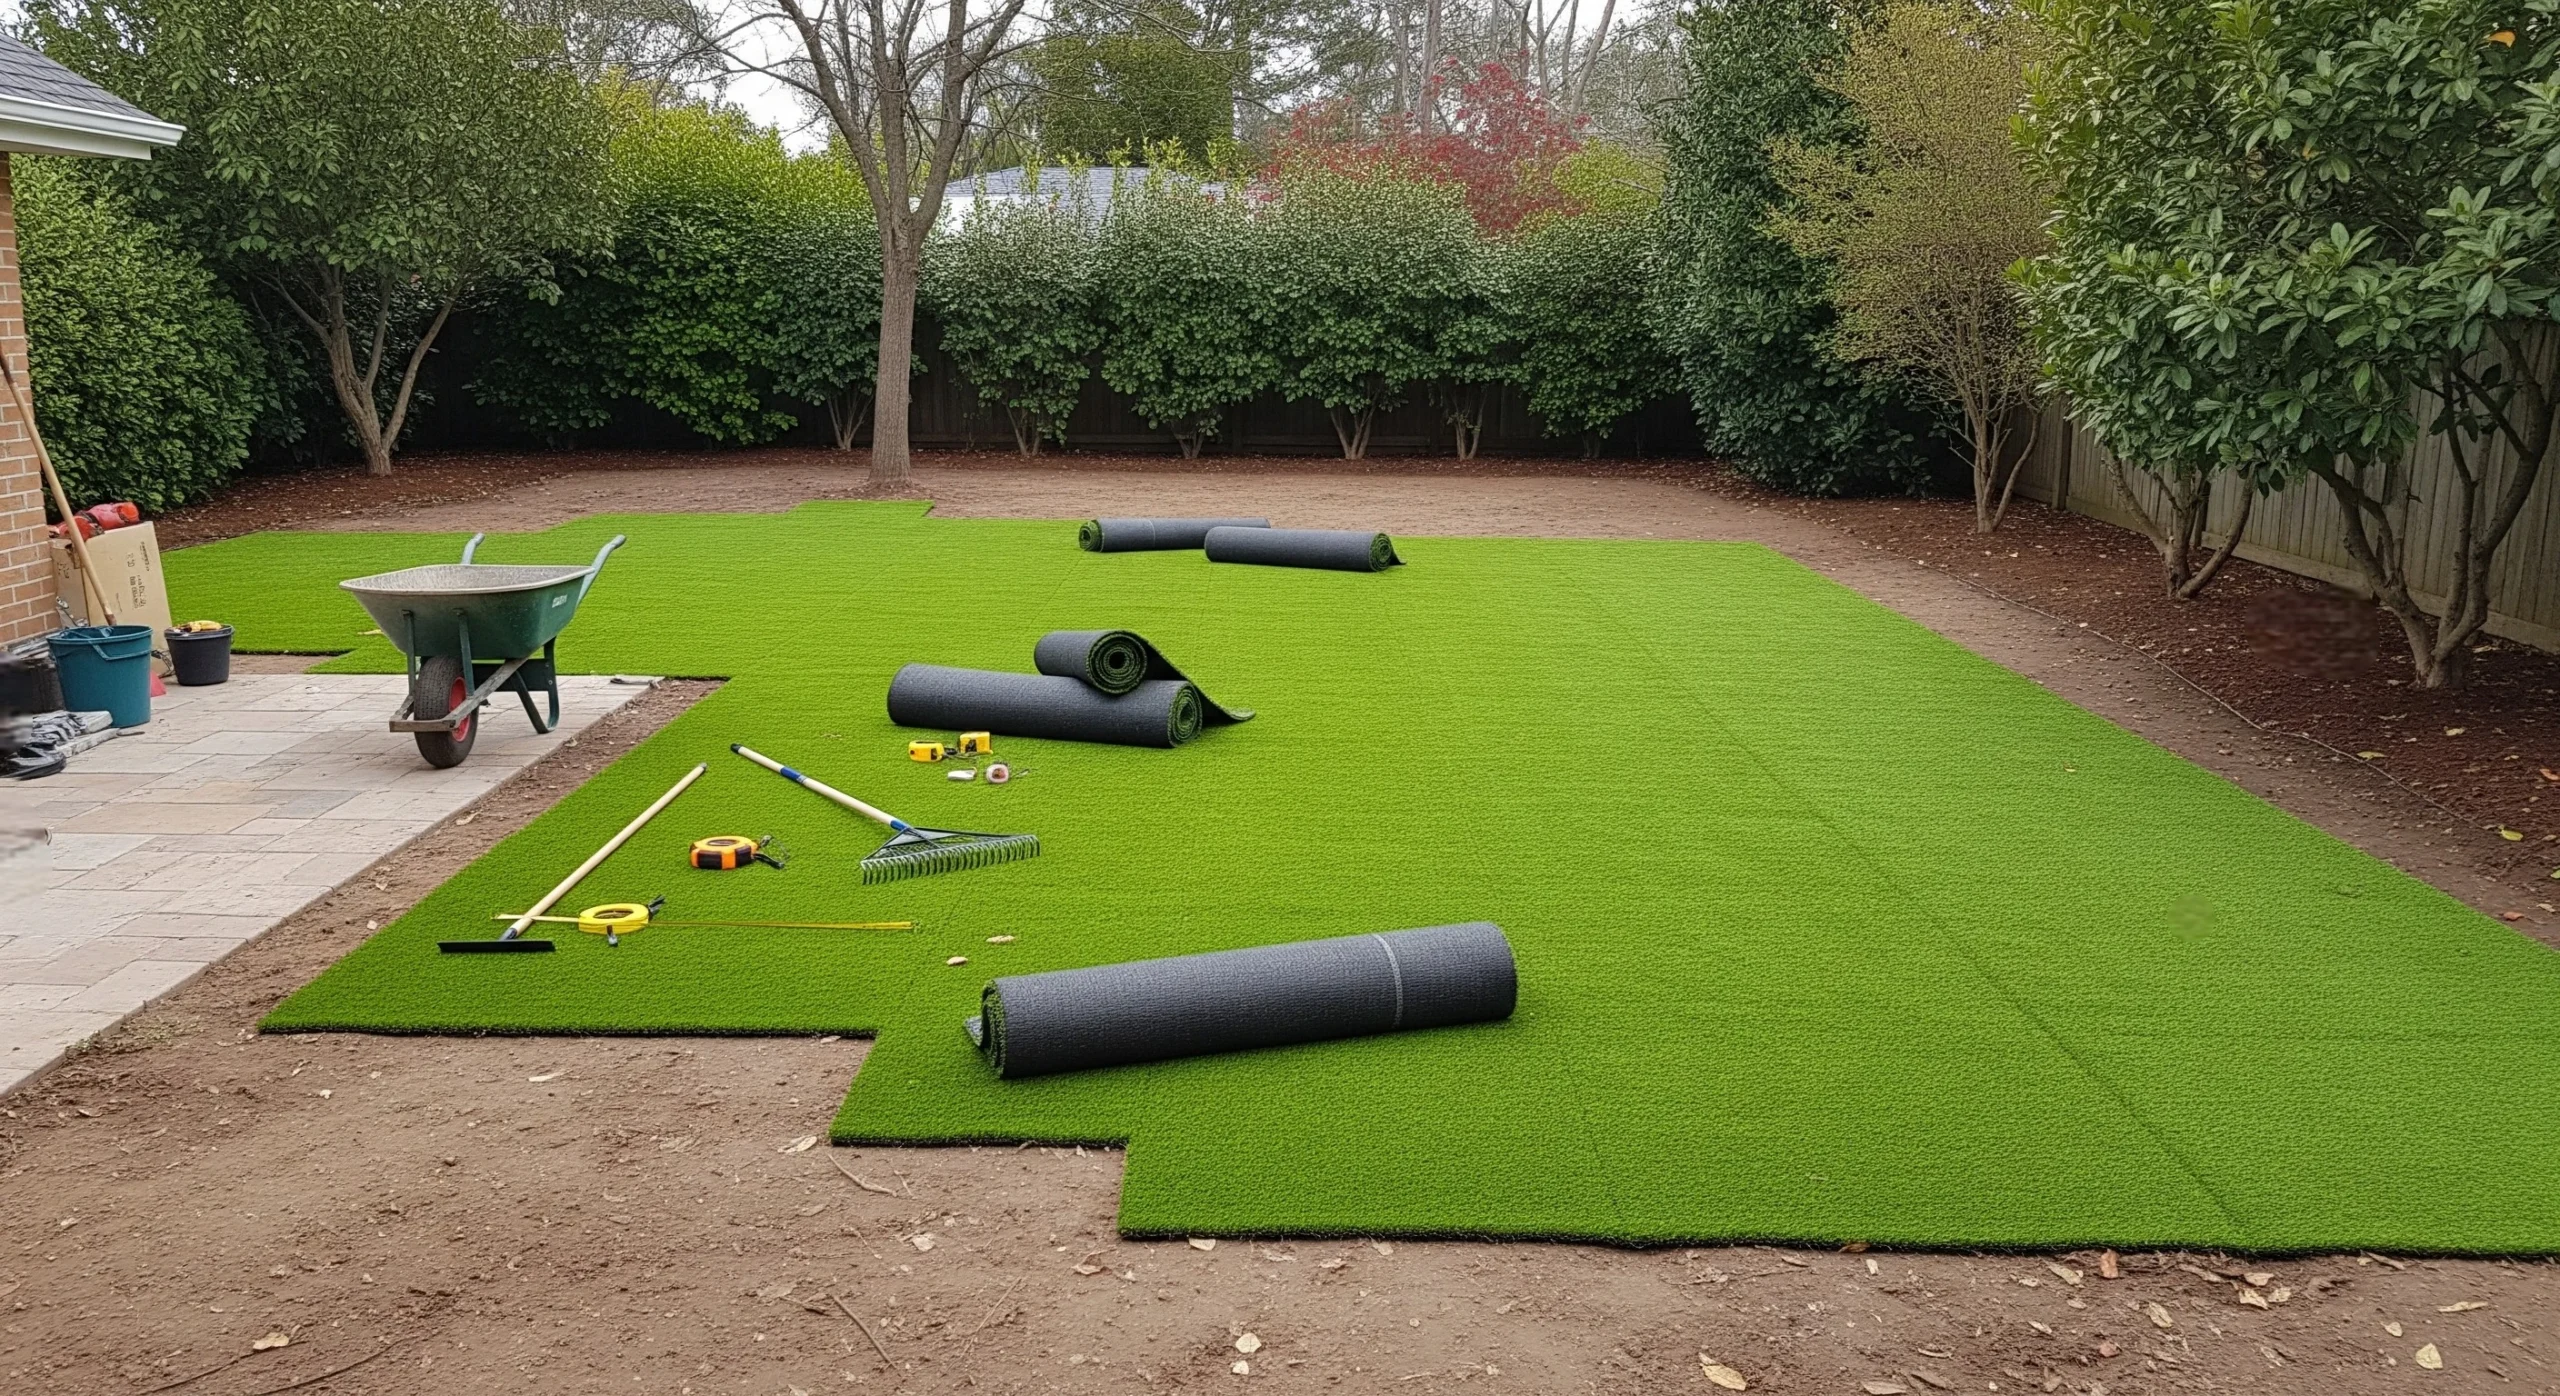
You’ll see it tucked between stepping stones in a small side yard, softening up a balcony in the city, or covering that awkward patch between the garage and the fence that never grew anything anyway. It’s a favorite for dog owners—easy to rinse, tough to dig through and parents like it too because there’s no mud, no mess, just clean space to run around. It’s not trying too hard, it just works, which is probably why so many people keep going back to it once they see how low-key the upkeep really is.
You don’t always need a crew or fancy equipment to get it in place. With a free weekend, a bit of planning, and maybe a playlist that keeps the energy up, DIY artificial grass installation can actually turn into one of those surprisingly satisfying wins. It’s the kind of project that changes how your space looks and feels and once it’s done, it pretty much takes care of itself.
Step 1 – Prep the Ground
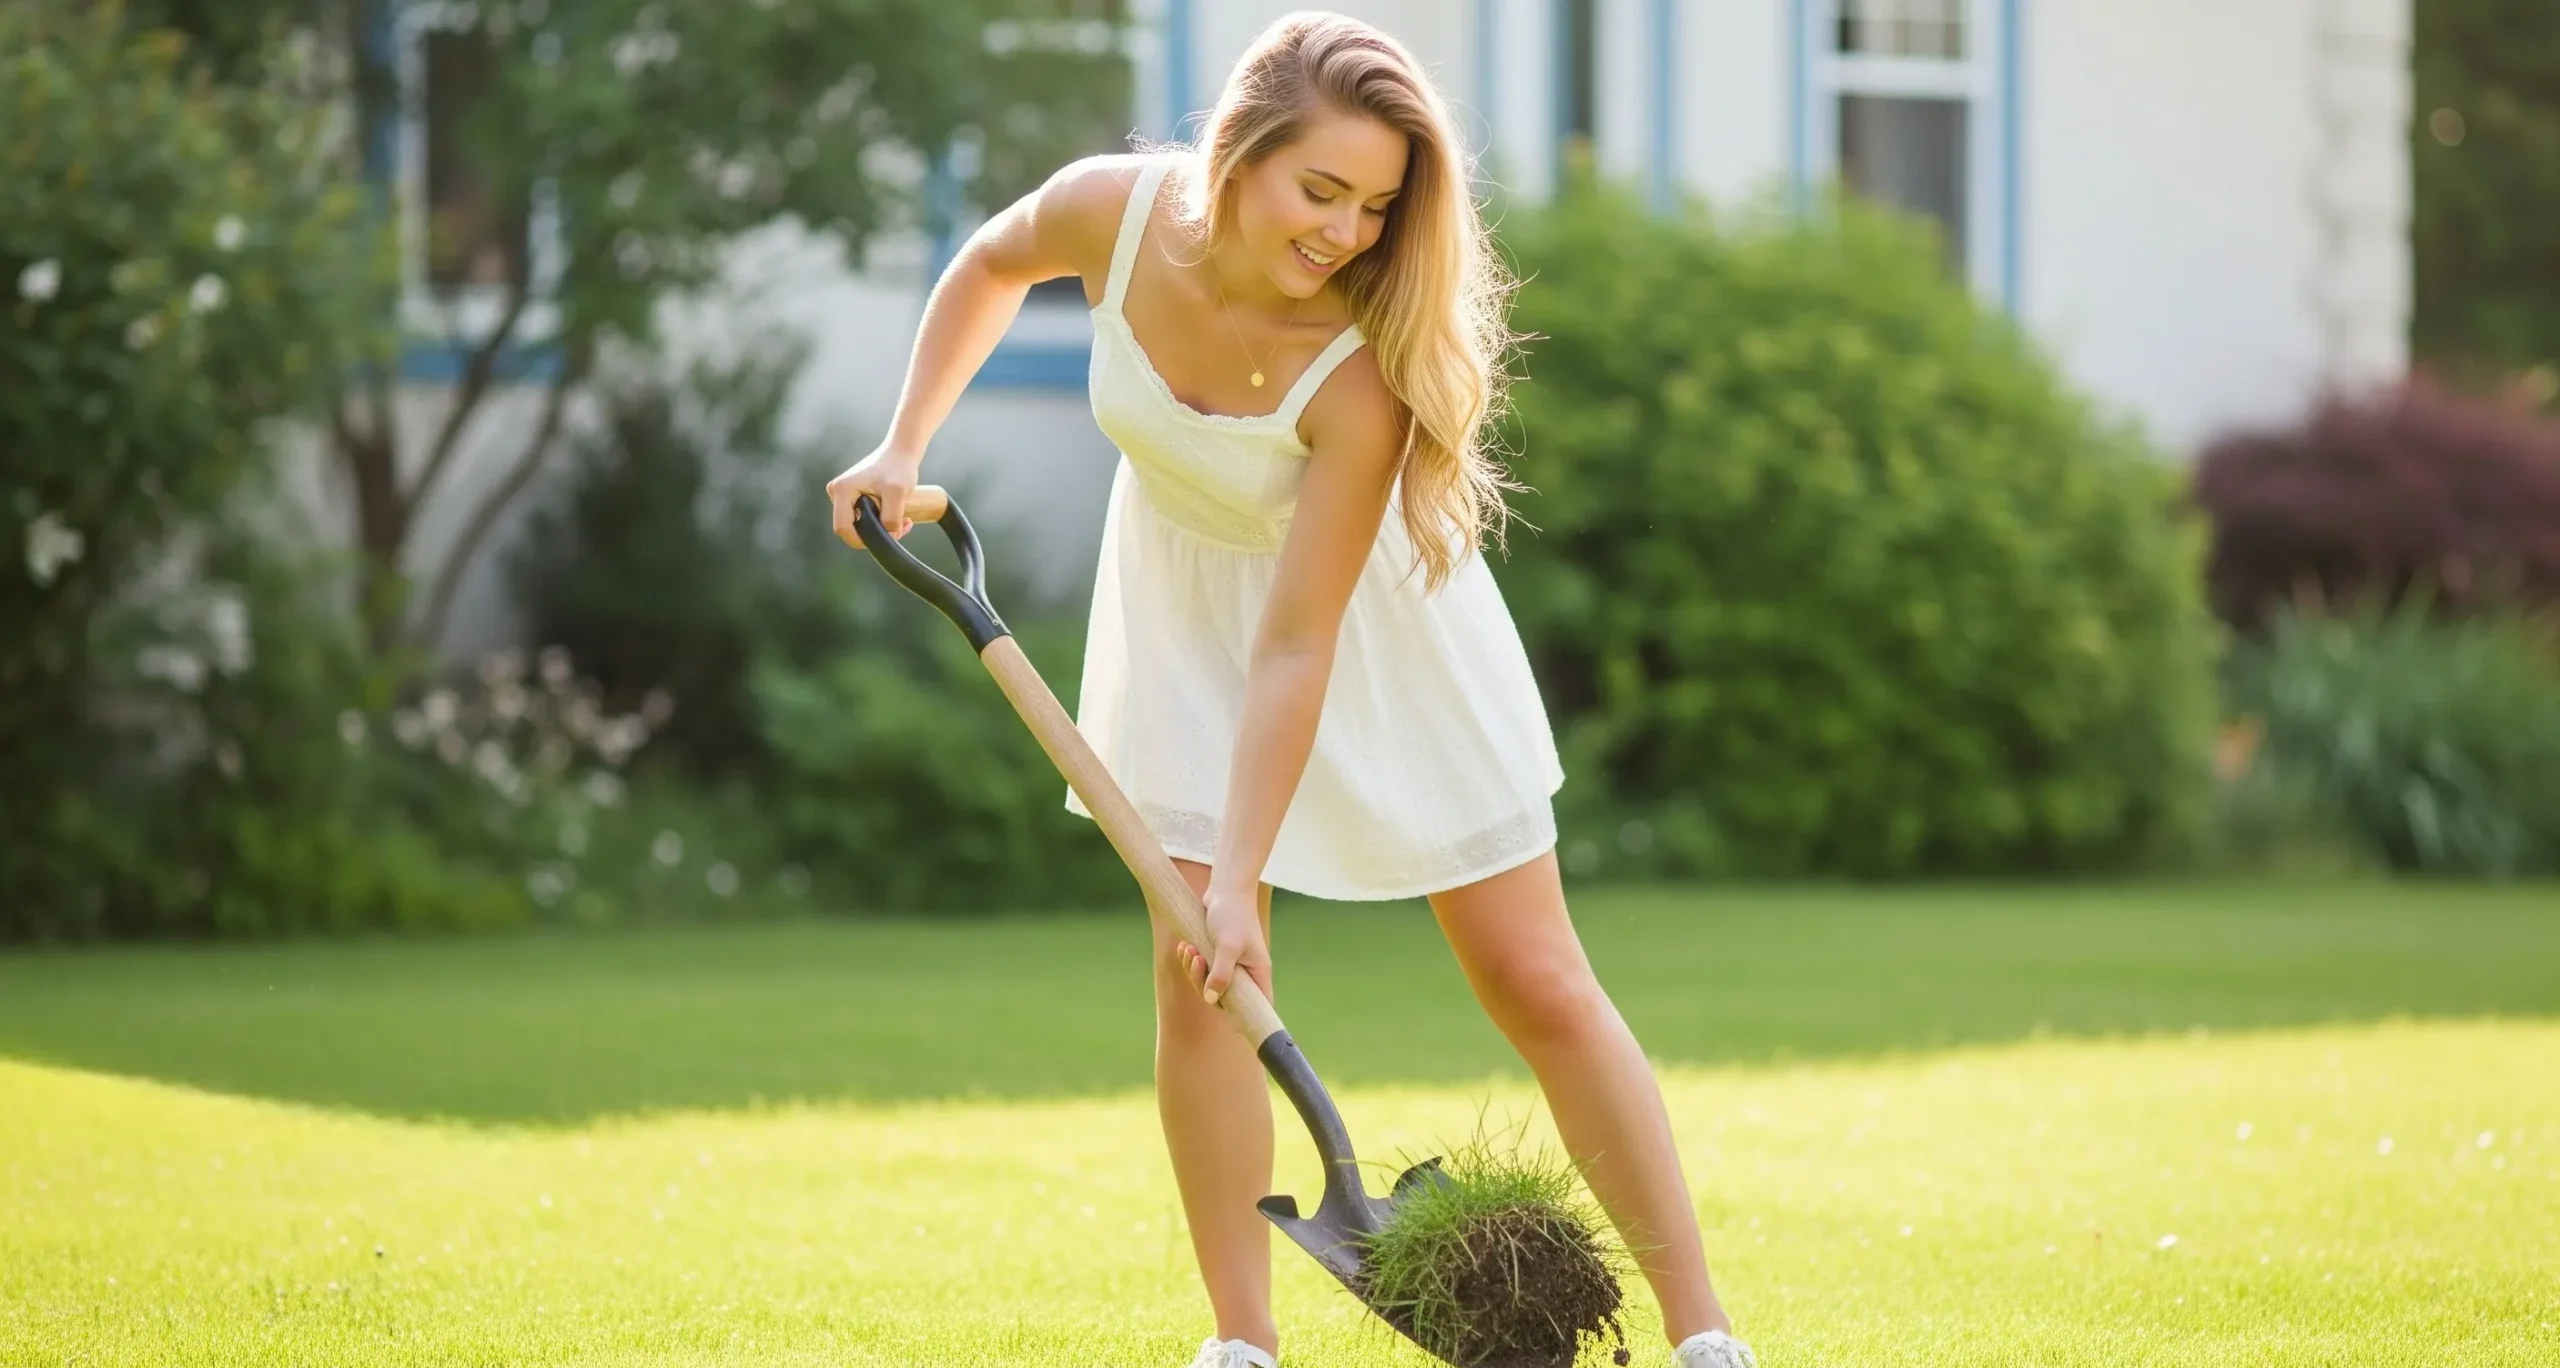
Getting the ground ready might not be the most exciting part, but it sets everything up to actually last. First, all the old stuff has to go. Grass, weeds, rocks, random roots, basically anything that doesn’t belong under your new lawn. A few inches down is usually enough, just enough to get a clean surface. If there’s an old sprinkler system hiding in there, now’s the time to cap it off or pull it out so nothing leaks or grows moldy underneath. And since water needs a place to go, a gentle slope away from the house helps a lot during rainy days.
Before grabbing a shovel, always check for underground lines. and don’t forget to call 811 before digging, it’s a small step that helps avoid accidents, costly repairs, and worse..
Step 2 – Build a Stable Base
After clearing the area, it helps to add a border around the space. It’s not a must, but having something like bender board or weather-treated wood around the edge gives the whole thing a cleaner finish and helps hold the turf in place once everything’s down. It also makes the final edge feel more intentional instead of just sort of stopping wherever the grass ends.
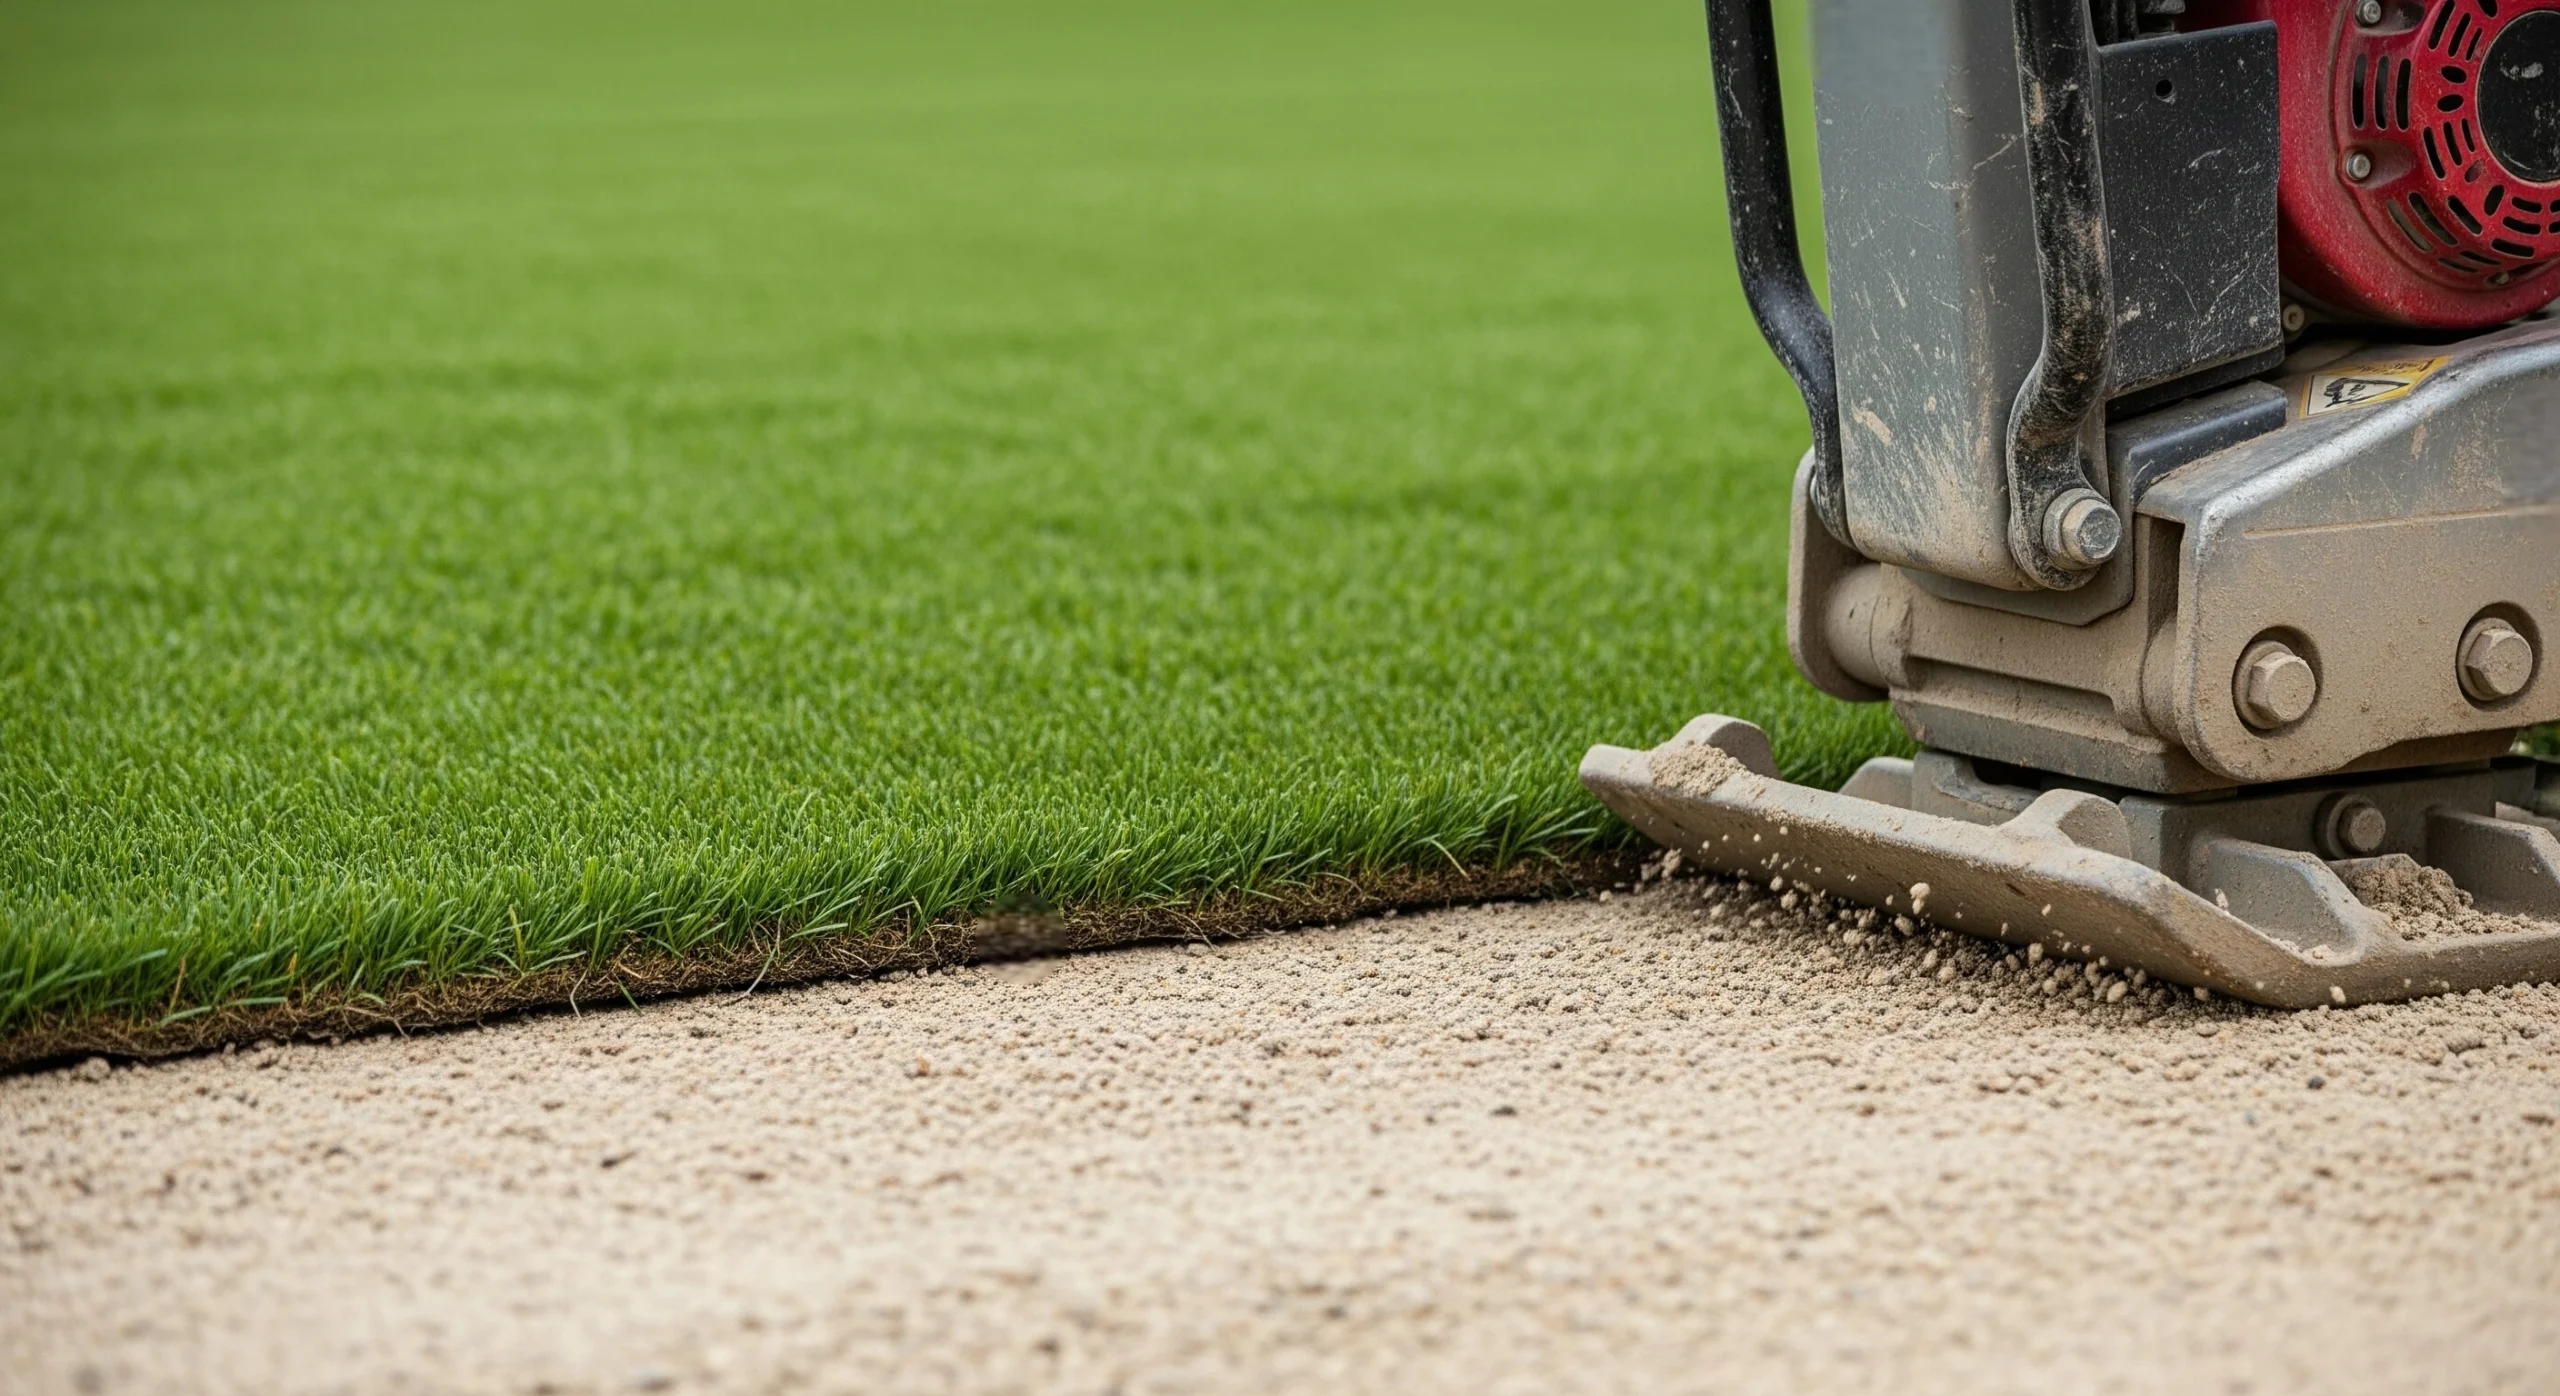
Then comes the base layer, which is basically what keeps everything feeling solid. A couple inches of crushed stone or decomposed granite works great here. Once it’s spread out, the surface needs to be as level and even as possible, with a little slope so water doesn’t just sit there. Packing it down tightly makes a big difference too—this is what keeps dips and soft spots from showing up later. Some folks like to roll out a weed barrier at this stage, just to make extra sure nothing tries to grow back through.
Step 3 – Lay and Settle the Grass
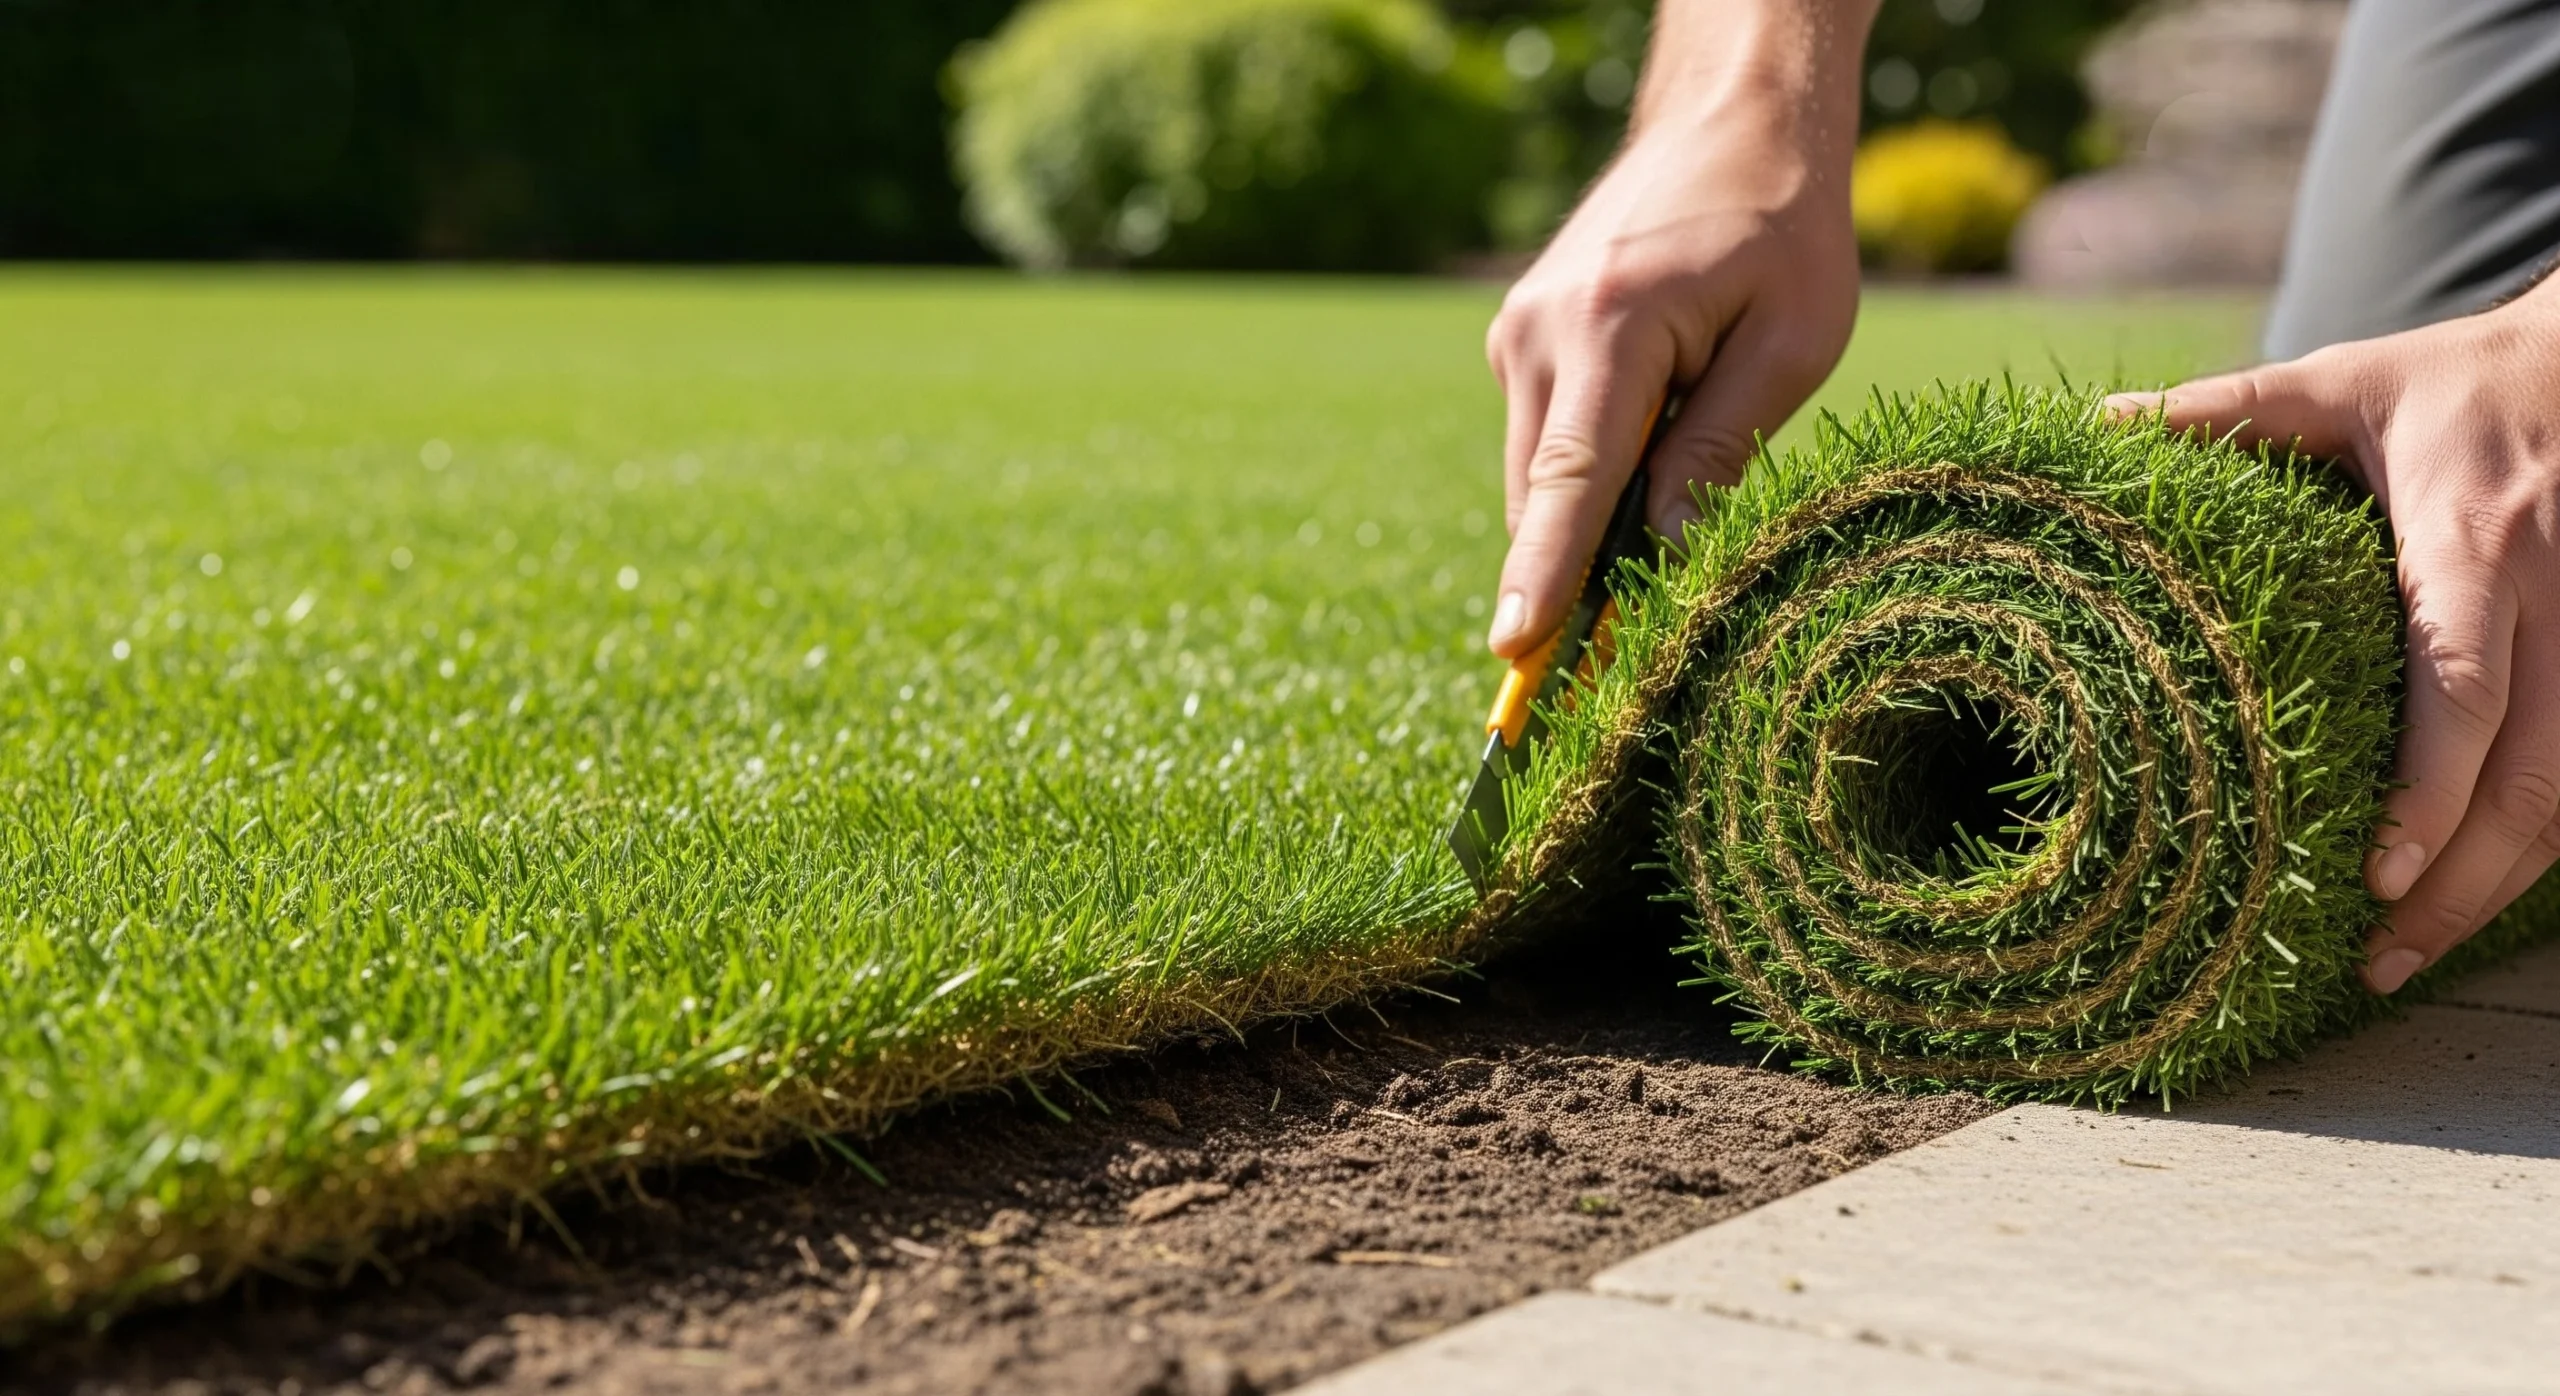
Once the base is set, it’s time to roll out the green. The turf usually comes tightly packed, so letting it hang out in the sun for a bit helps it relax and flatten out. It’s kind of like unrolling a giant yoga mat that’s been stuffed in a closet for too long. The warmth makes the material easier to shape and way less stubborn when it’s time to get it sitting right.
Once it’s relaxed, the trick is to keep all the blades going in the same direction. It sounds tiny, but if some of them lean one way and others lean another, the lawn ends up looking patchy in weird lighting. Trimming around edges, stepping stones, or tree trunks takes some slow moves and a sharp blade, but once you get going, it’s oddly satisfying. If you’ve got more than one roll to work with, lining up seams can take a minute, but once they’re glued and pressed down, it all disappears like a good wallpaper pattern.
To finish, anchor the edges so nothing shifts out of place, then give everything a good brush—nothing fancy, just something stiff enough to lift the blades so it starts to look less like packaging and more like a real backyard.
Step 4 – Add the Infill

This part feels a little like seasoning a big pan of something before it goes in the oven. The infill is what settles into the grass and helps everything feel grounded, literally. There are a few options to pick from, silica sand is common, rubber crumb gives more bounce, and pet-friendly blends are great if furry paws are part of daily life. The type you go with depends on how the space will be used, but either way, it’s what gives the turf weight and helps the blades stay upright.
Once it’s spread across the surface, a stiff brush (or power broom, if you’re feeling fancy) helps work the material down into the fibers so it doesn’t just sit on top like sprinkles on a cupcake. It takes a little elbow grease, but once it’s in, the whole thing feels more finished. Also, it helps the turf look more like real grass instead of something you just rolled out yesterday.
Step 5 – Final Touches
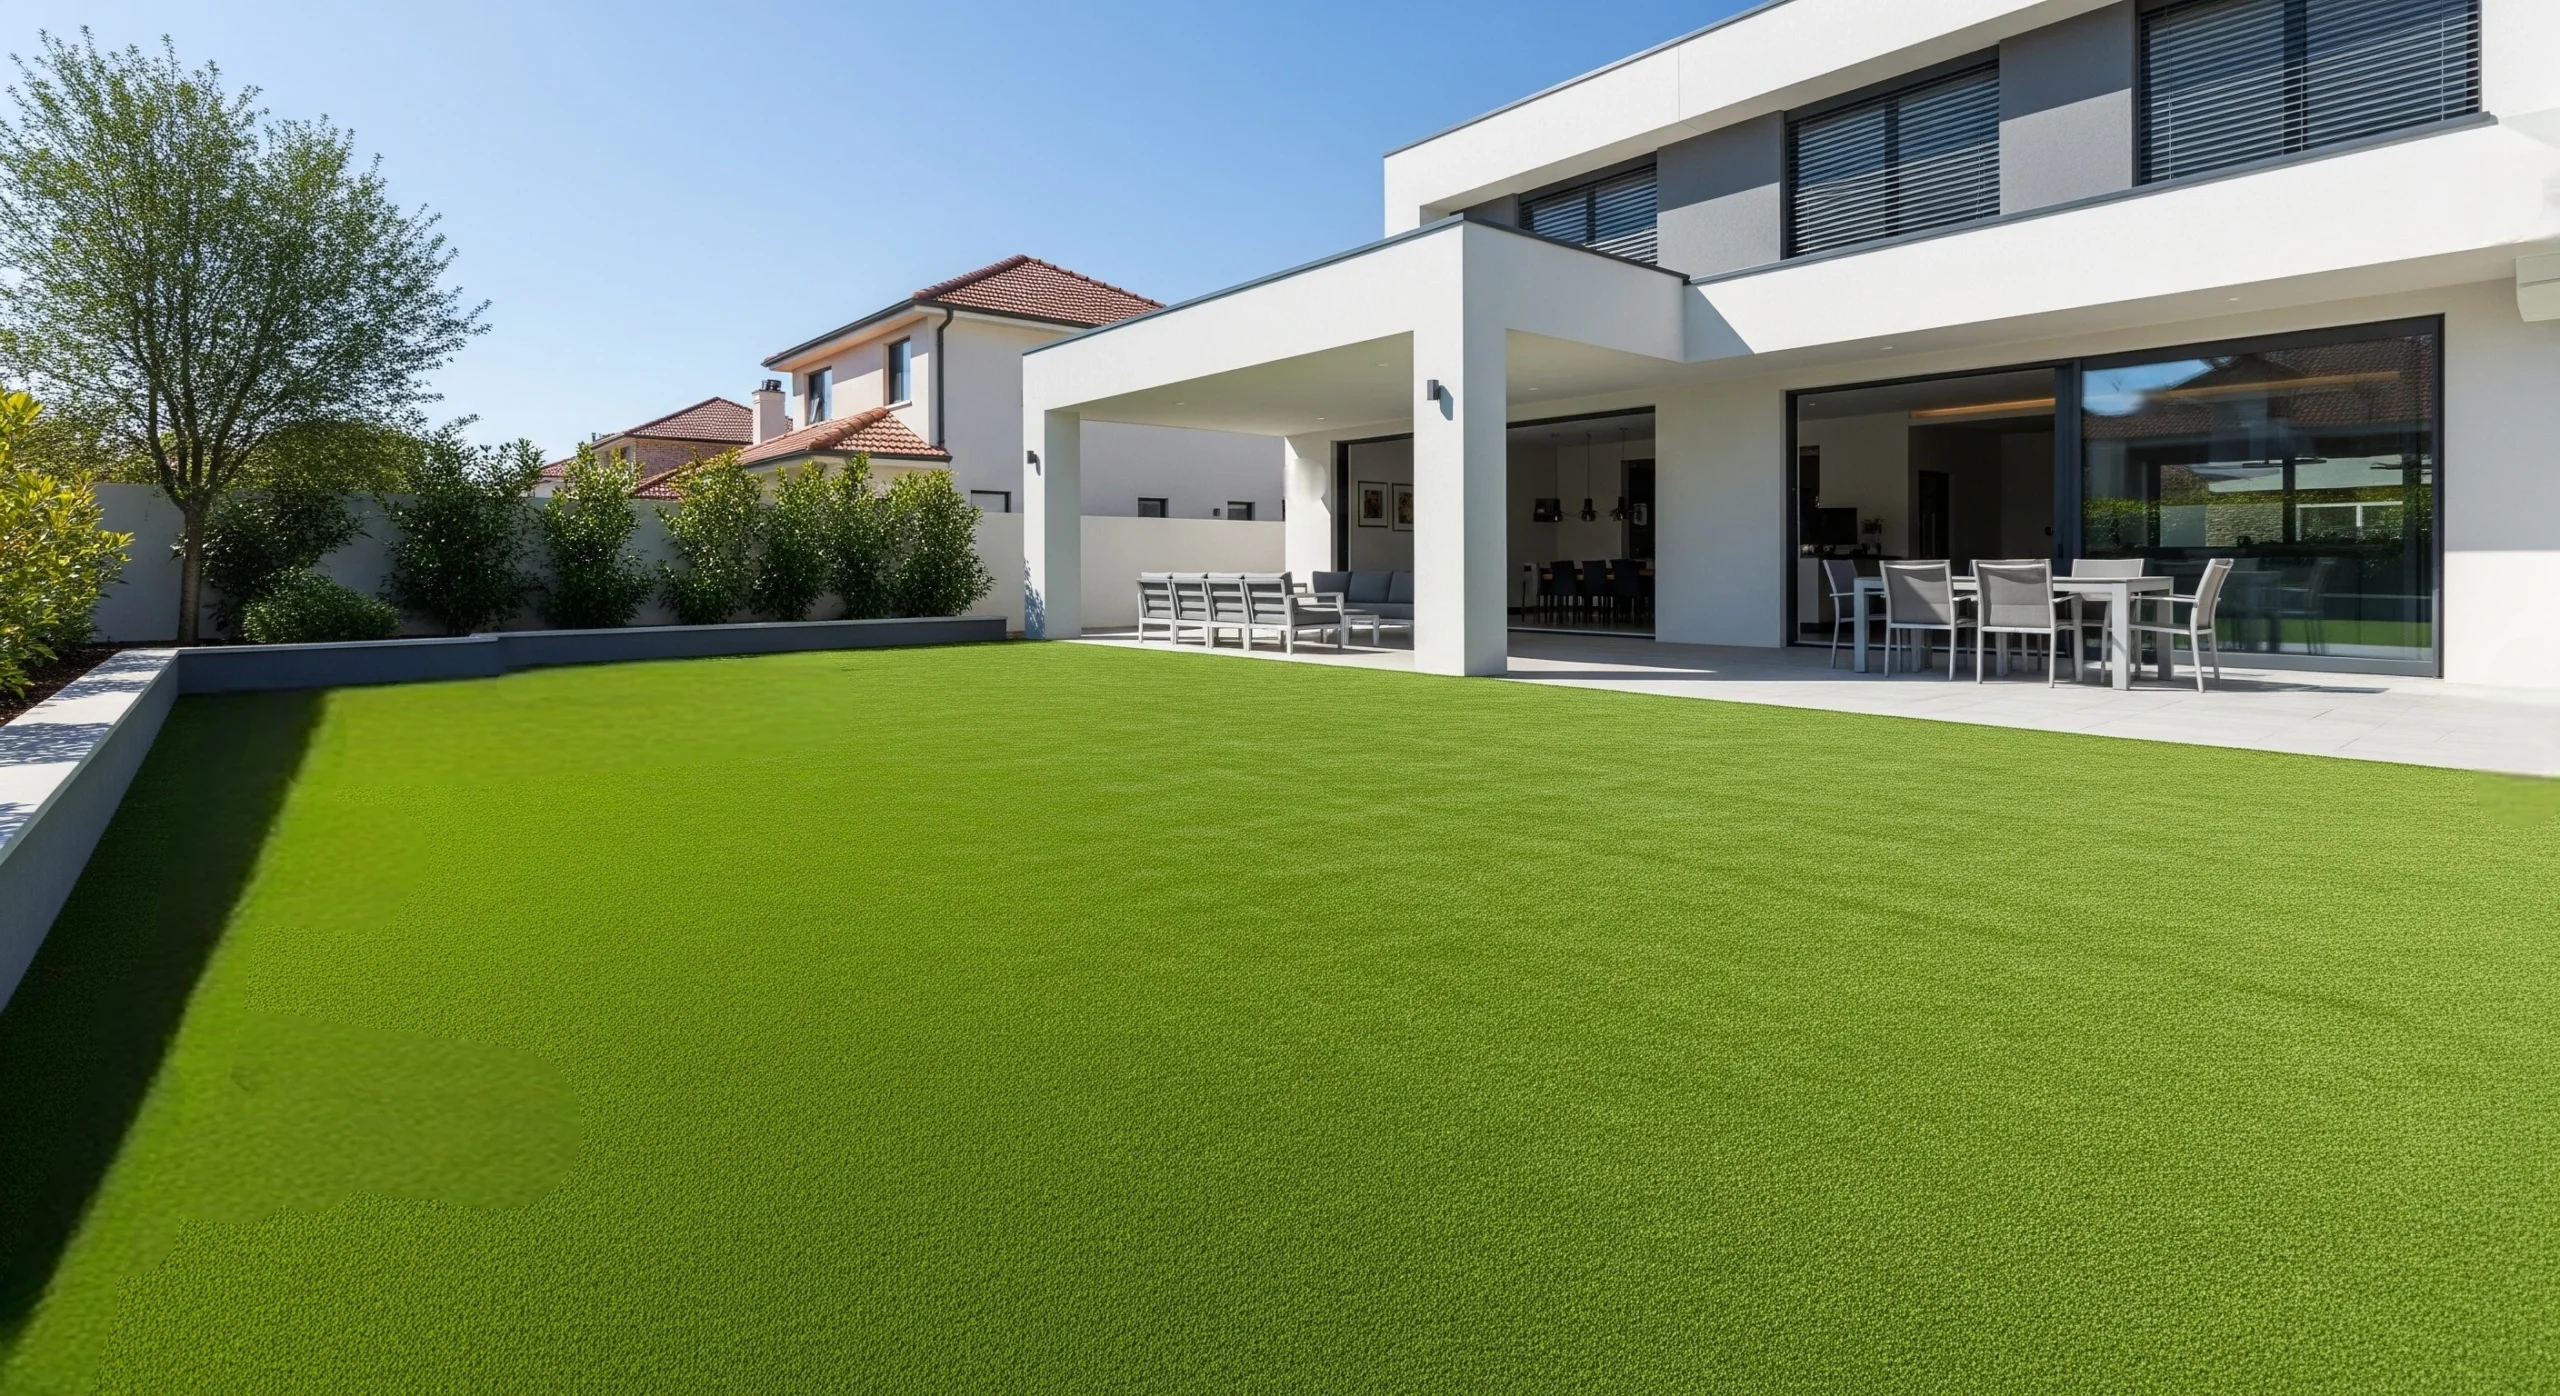
With everything in place, the last step is all about tidying up and giving the whole space a once-over. Any loose bits—extra infill, stray blades, scraps from trimming, can be swept or vacuumed up to keep things looking polished. It’s also a good time to check edges one last time, make sure nothing’s lifting, and brush out any areas that got matted down during install.
Once the surface looks clean and even, that’s when it really starts to feel like a finished yard. No muddy patches, no weird brown spots, and no mower in sight. Just a soft, green space that looks good from every angle and holds up whether it’s sunny, rainy, or somewhere in between. It’s one of those upgrades that keeps paying off over time—less work, more time to actually enjoy being outside.
Tools and Materials
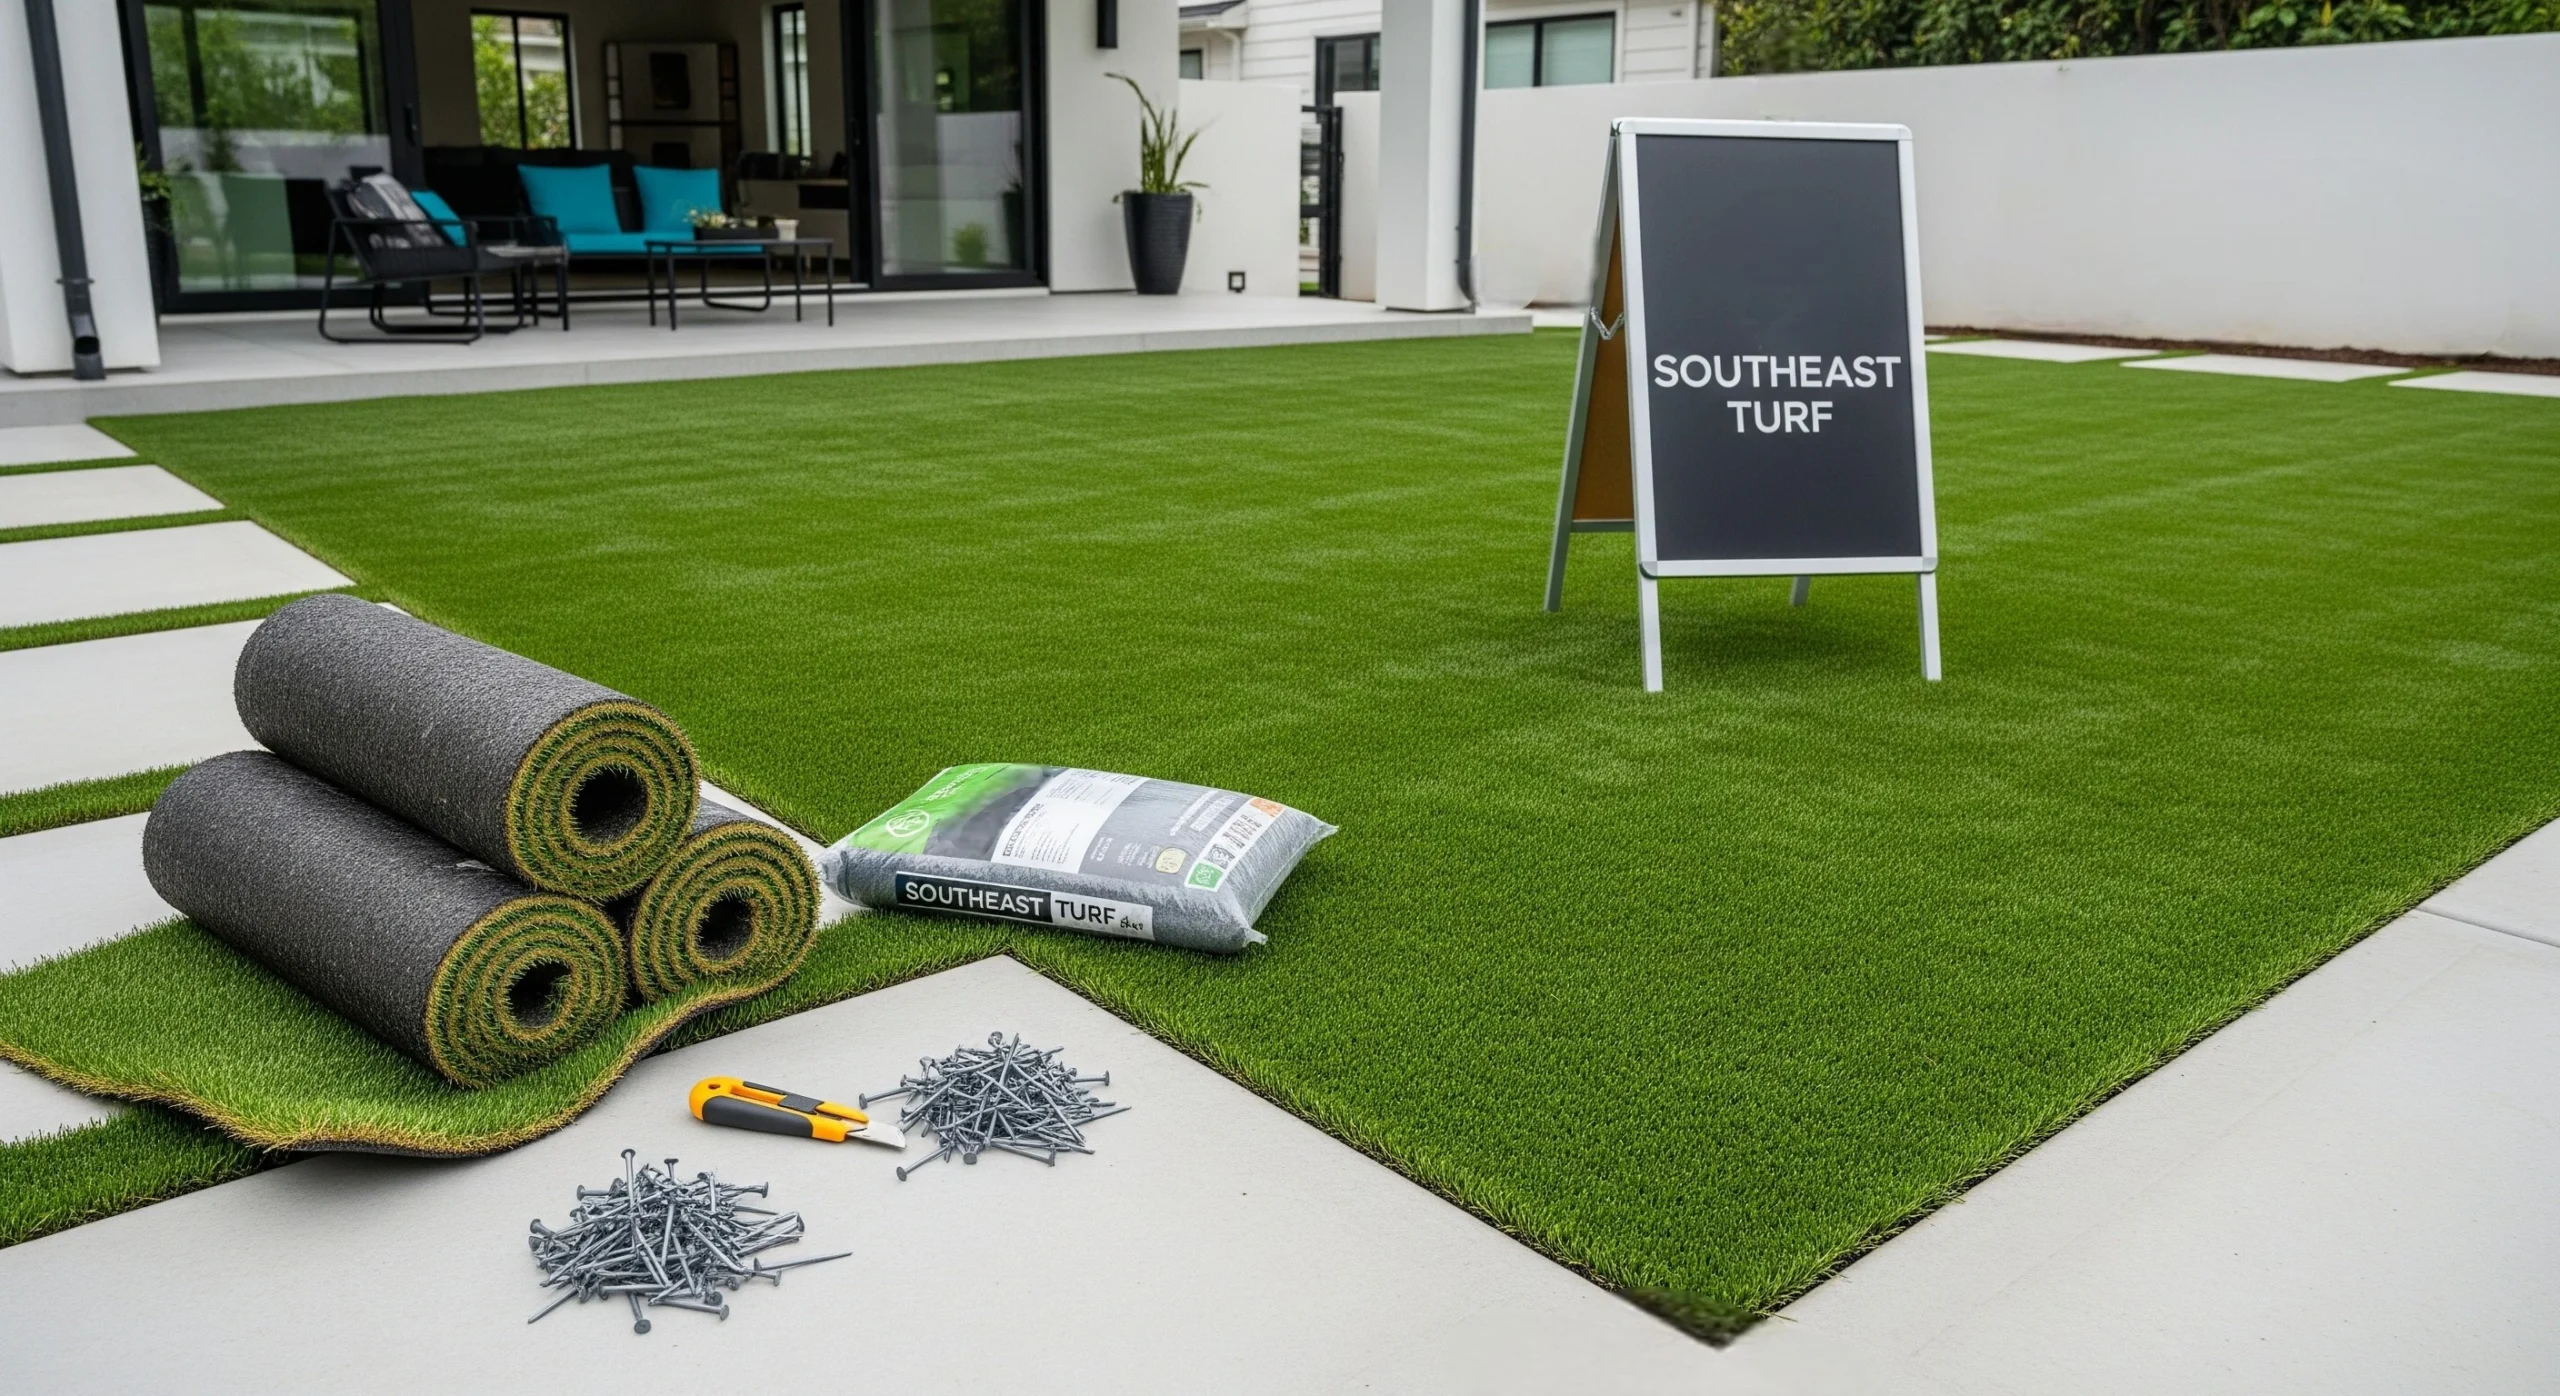
A lot of this stuff might already be hanging out in the garage or tucked behind the broom in the laundry room. But here’s a quick list of what tends to come in handy:
A Few Last Things to Keep in Mind
There’s no need to overthink things, but a few extra details are worth keeping in mind:
- Good drainage starts with a gentle slope and a well-packed base, especially if your yard gets hit with heavy rain now and then.
- If seams are unavoidable, curved cuts tend to blend better than straight ones—nothing too perfect, just enough to keep things looking smooth.
- Sharp blades mean real risks, so gloves help, and slow steady cuts always beat rushing through.
- And if any part of the process starts to feel more confusing than creative, it’s totally okay to call in someone who’s done it before.
No rush, no rules, just a yard that actually works for you.


